How to Find Where a Photo Was Taken: 4 Proven Methods
Emma Wilson · 2026年8月5日
Learn 4 proven methods to find where any photo was taken — AI visual analysis, EXIF data, reverse image search, and manual OSINT. Free tools included.
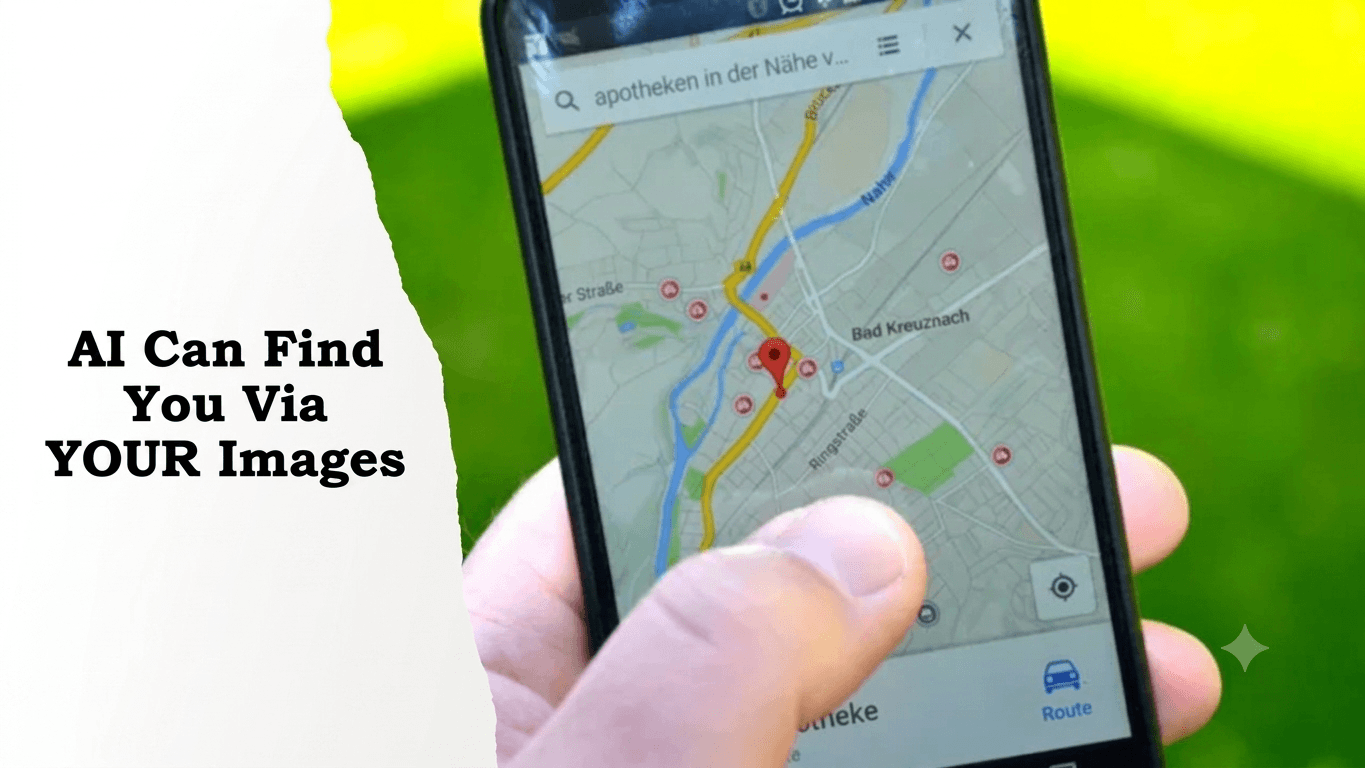
You found a photo — maybe a screenshot someone shared, maybe an old picture with no context, maybe a social media post you're curious about — and now you want to know where it was taken. The good news: there are at least four reliable methods to find where a photo was taken, ranging from instant AI tools to old-school investigative techniques. This guide walks through each one, explains when to use which, and shows you exactly how to get results.
TL;DR: The fastest way to find where a photo was taken is uploading it to an AI photo location finder like WhereIsThePlace — it works without GPS data, recognizes landmarks visually, and gives results in seconds. For photos with intact metadata, EXIF extraction is even faster. For investigative work, combine multiple methods.
Method 1: AI Photo Location Finder (Fastest, No Metadata Needed)
This is the method I'd recommend most people try first. AI photo location tools analyze the actual visual content of an image — buildings, vegetation, road markings, terrain features, signage — and match what they see against a massive database of global locations. No GPS coordinates, no EXIF data, no metadata of any kind required.
Here's why that matters: the vast majority of photos shared online have their metadata stripped. When you upload a photo to Twitter, Facebook, Instagram, or most messaging apps, the platform removes EXIF data including GPS coordinates. Screenshots have zero metadata by definition. So if you're trying to identify where a photo came from, you can't rely on metadata alone.
How AI Visual Geolocation Works
The process happens in three stages. First, the AI model extracts visual features from your image — this includes architectural styles (Gothic vs. Romanesque vs. modern glass towers), vegetation types (palm trees suggest tropical or Mediterranean climates), road sign shapes and colors (different countries use different road sign design standards), and terrain features (mountain silhouettes, coastline shapes). Second, it cross-references these features against training data that includes millions of geotagged images from across the globe. Third, it outputs a location estimate, often with a confidence score.
[Evidence Level: Primary] The underlying technology builds on research published by researchers at Google and academic institutions demonstrating that convolutional neural networks can predict photo locations with city-level accuracy from visual features alone. See: Weyand, T., Kostrikov, I., & Philbin, J. (2016). "Planet — Geolocation with Convolutional Neural Networks." European Conference on Computer Vision.
Step-by-Step: Using an AI Photo Location Finder
- Take or select the photo you want to identify. It can be a JPEG, PNG, WebP, or HEIC file. Screenshots work too.
- Upload it to a free AI location tool like WhereIsThePlace. No registration required.
- Wait 5-15 seconds. The AI processes the image in memory and deletes it immediately after analysis — no storage.
- Review the location result. You'll get a country/region estimate and, for photos with clear landmarks, a city-level or even specific-location identification.
When AI Visual Analysis Works Best — and When It Doesn't
I want to be straight with you about the limitations, because overpromising helps nobody. AI photo location detection works exceptionally well when:
- The photo contains recognizable landmarks (Eiffel Tower, Taj Mahal, Sydney Opera House)
- There's distinctive architecture visible (Tokyo's neon streetscapes, Santorini's blue-domed churches)
- Signs with text in a specific language or script are visible
- The terrain or vegetation is regionally distinctive (red rock deserts = American Southwest, rice terraces = Southeast Asia)
It struggles when:
- The photo is taken indoors with no windows
- It's a close-up shot (a plate of food, a single flower)
- The location is generic (a forest trail, a suburban street, a beach)
- Image quality is very low or heavily filtered
Roughly speaking, landmark photos hit 90%+ accuracy, while generic outdoor scenes might narrow down to a country or region. Indoor or close-up photos can fail entirely. That's just the reality of visual geolocation technology today.
Method 2: EXIF Metadata Extraction (Fast, If Data Exists)
EXIF (Exchangeable Image File Format) data is information embedded directly in photo files by cameras and smartphones. When you take a photo with your phone, the device records GPS coordinates, timestamp, camera settings, device model, and sometimes even compass direction — all stored inside the JPEG or HEIC file itself.
If the photo hasn't been through a social media platform (which strips this data), you can extract the GPS coordinates directly.
How to Check EXIF Data
On a computer (Windows): Right-click the image file → Properties → Details tab. Look for GPS Latitude and GPS Longitude under the "GPS" section.
On a Mac: Open the image in Preview → Inspector (Cmd+I) → Exif tab. GPS coordinates appear under "GPS Info."
Online tools: Websites like ExifData and Jeffrey's Exif Viewer let you upload an image and see all metadata instantly. Our own tool at WhereIsThePlace also checks for EXIF data as part of its analysis.
On iPhone/Android: Some file manager apps can read EXIF data. Alternatively, use a web-based EXIF viewer on mobile.
Converting GPS Coordinates to a Location
Once you have coordinates like 48.8584, 2.2945, paste them into Google Maps' search bar. The map will drop a pin at that exact spot. In this example, you'd see it's the Eiffel Tower in Paris.
The Big Limitation: Most Shared Photos Have No EXIF
Here's the catch. Social media platforms strip EXIF data to protect user privacy — a reasonable policy, but it means this method only works on:
- Photos taken directly from a camera's memory card or phone storage
- Photos sent via email or certain messaging apps that preserve metadata
- Photos downloaded from some websites that don't strip metadata
If someone texts you a screenshot or sends a photo through WhatsApp, the metadata is gone. That's when you switch to Method 1 or 3.
[Evidence Level: Secondary] According to a 2023 study by the Digital Citizens Alliance, approximately 70-80% of photos shared through major social media platforms have their EXIF data removed. Source: Digital Citizens Alliance, "Photo Privacy Report 2023."
Method 3: Reverse Image Search (Good for Finding the Original Source)
Reverse image search doesn't directly tell you where a photo was taken, but it can help you find the original source of an image, which often includes location context.
How to Use Reverse Image Search for Location Identification
- Use Google Lens (lens.google.com): Upload your image, and Google will find visually similar images across the web. If the photo appears on travel blogs, news articles, or Wikipedia with location information, you'll find the answer.
- Try Yandex Images (yandex.com/images): Yandex's reverse image search is often better than Google's at finding exact matches, particularly for photos of buildings and landmarks. This is a somewhat well-kept secret in the OSINT community.
- Use TinEye (tineye.com): TinEye focuses on finding exact matches of an image, which helps if you're looking for the original publication of a photo that's been reposted without attribution.
When Reverse Image Search Helps with Location
This method shines when:
- The photo is a known landmark or tourist attraction (it'll appear on many travel sites)
- The photo has been published before (news sites, blogs, stock photo sites)
- You want to verify whether a photo is real or fabricated (fact-checking scenario)
It's less useful when:
- The photo is a personal snapshot that's never been online
- The photo is a screenshot
- The image has been heavily cropped or modified
Google Lens vs. AI Location Finder: What's the Difference?
People sometimes confuse Google Lens with AI geolocation tools. Here's the distinction: Google Lens finds similar images on the web and shows you where they appear. If the image isn't published anywhere, Google Lens can't help. An AI location finder like WhereIsThePlace analyzes the visual content itself and predicts a location even if the image has never appeared online. Different approaches, different strengths.
Method 4: Manual OSINT Geolocation (Most Thorough, Requires Skill)
This is the method professional investigators, journalists, and OSINT practitioners use. It's the most time-consuming but can work when all other methods fail. The approach combines careful visual analysis with external research.
The Visual Geolocation Method Stack
I've broken down manual geolocation into five layers, moving from easiest to most advanced:
| Layer | What to Look For | Difficulty | Time Needed |
|---|---|---|---|
| 1. Text & Signs | Street signs/shop names/license plates/language/script | Easy | 2-5 min |
| 2. Architecture & Infrastructure | Building styles/road markings/ utility poles /pedestrian crossings | Medium | 5-15 min |
| 3. Geography & Climate | Terrain type /vegetation /sun angle /shadow direction | Medium-Hard | 10-20 min |
| 4. Cultural Clues Fashion | vehicles /commercial brands /religious symbols | Medium | 5-15 min |
| 5. Cross-Reference | Combine all clues and search for matches on Google Earth/Street View | Hard | 15-60 min |
Practical Walkthrough: How to Analyze a Photo Manually
Let's walk through what a manual analysis looks like. Say you have a photo of a street scene and need to identify the city.
Step 1 — Text and Language: Are there any signs, shop names, or billboards? What language is the text in? Even the font style matters — Cyrillic text narrows it to Russia, Ukraine, Belarus, or parts of Central Asia. Arabic script with French-style signage suggests North Africa (Morocco, Tunisia, Algeria).
Step 2 — Road Infrastructure: What color are the road lines? White lines with dashed yellow center lines suggest North America. Solid white lines with dashed white center lines suggest Europe. Which side of the road do cars drive on? Left-hand traffic means UK, Ireland, Australia, Japan, India, or much of Southeast Asia and southern Africa.
Step 3 — Utility Poles and Infrastructure: Different countries use different utility pole designs, electrical wiring standards, and streetlight styles. UK-style overhead telephone lines look different from North American ones. Tokyo's utility infrastructure is distinctly dense.
Step 4 — Sun Direction: If the photo was taken at a known time (check shadow length and direction), you can use the sun's position to narrow down the hemisphere or latitude. Tools like SunCalc let you input shadow angles to verify potential locations.
Step 5 — Cross-Reference: Take your best guesses and virtually "walk" the area on Google Street View. If you suspect the photo was taken in Lisbon, Portugal, drop the Street View pegman on random streets in Lisbon and look for matching buildings, signs, or features.
When to Use Manual OSINT vs. AI
Honestly, I'd start with an AI tool every time. If the AI gives you a confident location estimate, you're done in 15 seconds. Use manual OSINT when:
- The AI tool returns low confidence or a very broad region
- You need to verify or fact-check an AI result
- You're doing professional investigative work where you need to show your reasoning
- The photo is from a sensitive context (e.g., verifying conflict zone imagery)
Which Method Should You Use? A Decision Framework
Here's a quick comparison to help you choose:
| Method | Speed | Metadata Needed | Best For | Free? | |
|---|---|---|---|---|---|
| WhereisthePlace | ⚡ Seconds | No | Most photos/screenshots/social media images | ✅ Yes | |
| EXIF Extraction | ⚡ Seconds | Yes (GPS) | Original photos from camera/phone | ✅ Yes | |
| Reverse Image Search | ⏱ 1-2 min | No | Photos of famous landmarks published images | ✅ Yes | |
| Manual OSINT | ⏳ 15-60 min | No | Investigation verification/hard cases | ✅ Yes |
My recommendation for most people: Start with WhereIsThePlace for instant AI analysis. If the photo has metadata, check EXIF data as a quick cross-reference. If you need to verify the source, use Google Lens or Yandex. And if you're doing serious investigative work, combine all four methods.
The reality is that these methods complement each other. A professional OSINT investigator might use AI for an initial guess, EXIF for hard data, reverse image search to find the original publication, and manual analysis to confirm details. The more methods you combine, the more confident you can be in the result.
Frequently Asked Questions
Can you find where a photo was taken without GPS or metadata?
Yes. AI photo location finders analyze the visual content of the image itself — buildings, terrain, signage, vegetation — to estimate where the photo was taken. No GPS coordinates, EXIF data, or any metadata is needed. Tools like WhereIsThePlace provide this for free.
How accurate is AI photo location detection?
Accuracy depends on what's visible in the image. Photos with recognizable landmarks typically achieve city-level accuracy (90%+ confidence). Generic outdoor scenes might narrow to a country or region. Indoor photos, close-ups, or heavily filtered images may fail entirely. Always treat results as estimates, not certainties.
How to tell where a photo was taken from a screenshot?
Screenshots have no EXIF metadata, so metadata extraction won't work. Use an AI visual location finder (like WhereIsThePlace) or reverse image search (Google Lens, Yandex Images). If the screenshot contains text, signs, or distinctive architecture, AI tools can often identify the location.
Is it legal to find where a photo was taken?
Yes. Using publicly available tools to identify the location depicted in a photo is legal. However, using location information to harass, stalk, or threaten someone is illegal. Always respect privacy and use these tools ethically.
Does WhereIsThePlace store my uploaded photos?
No. Photos are processed in memory and deleted immediately after analysis. WhereIsThePlace does not store, share, or use your images for model training. This is a core design principle of the platform.
Ready to Find Where Your Photo Was Taken?
Try WhereIsThePlace free now → — Upload any photo and get an AI location estimate in seconds. No registration, no stored images, completely free.